
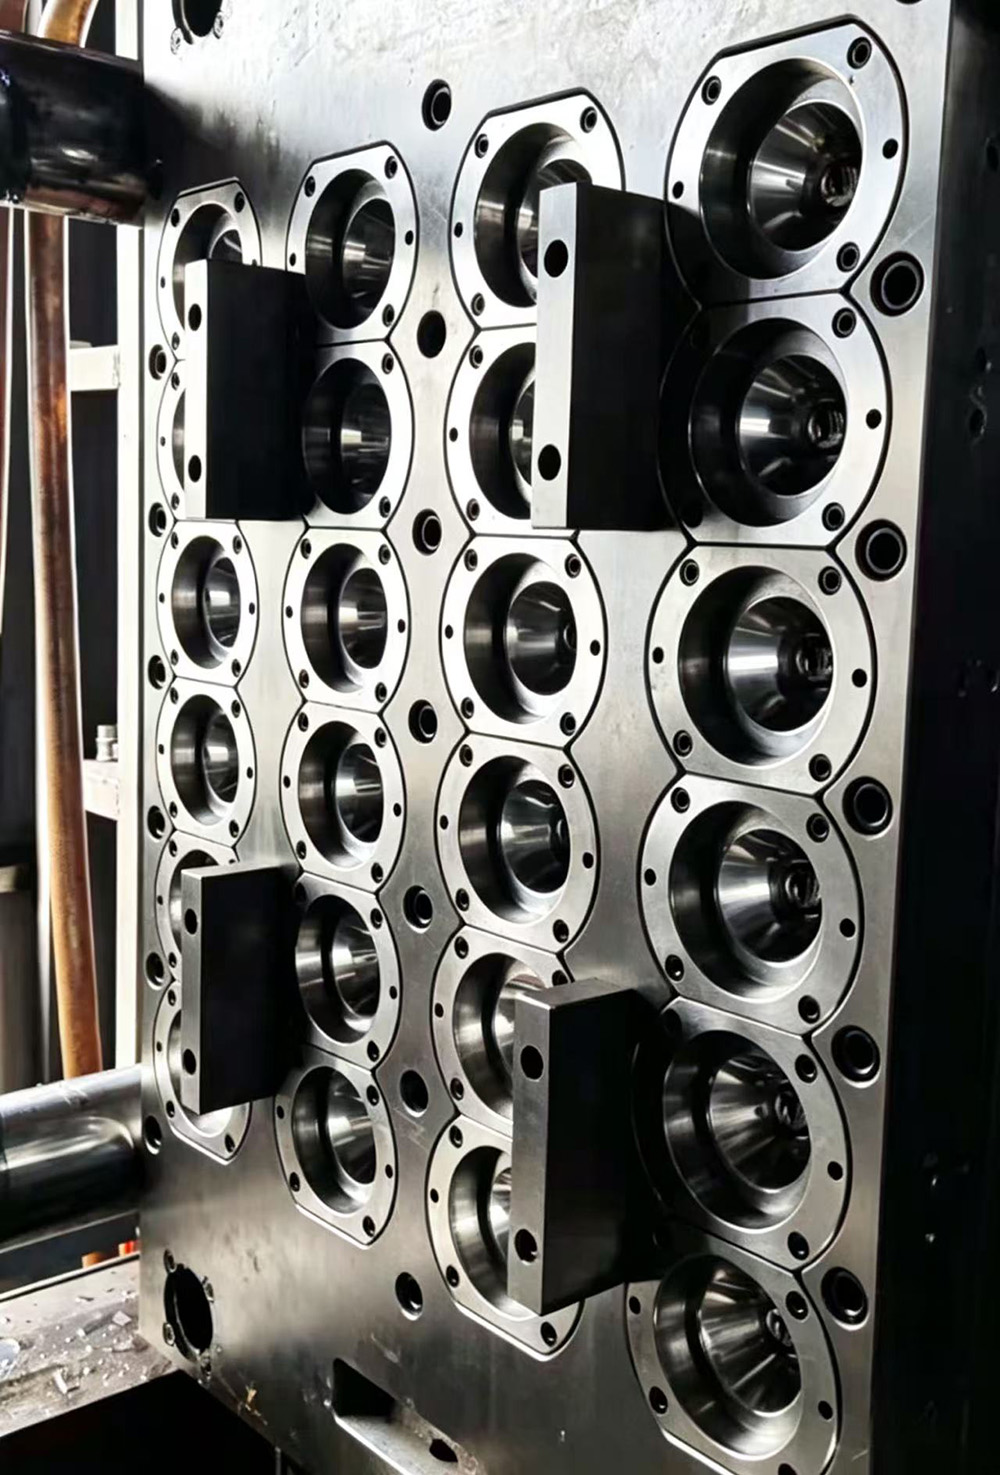
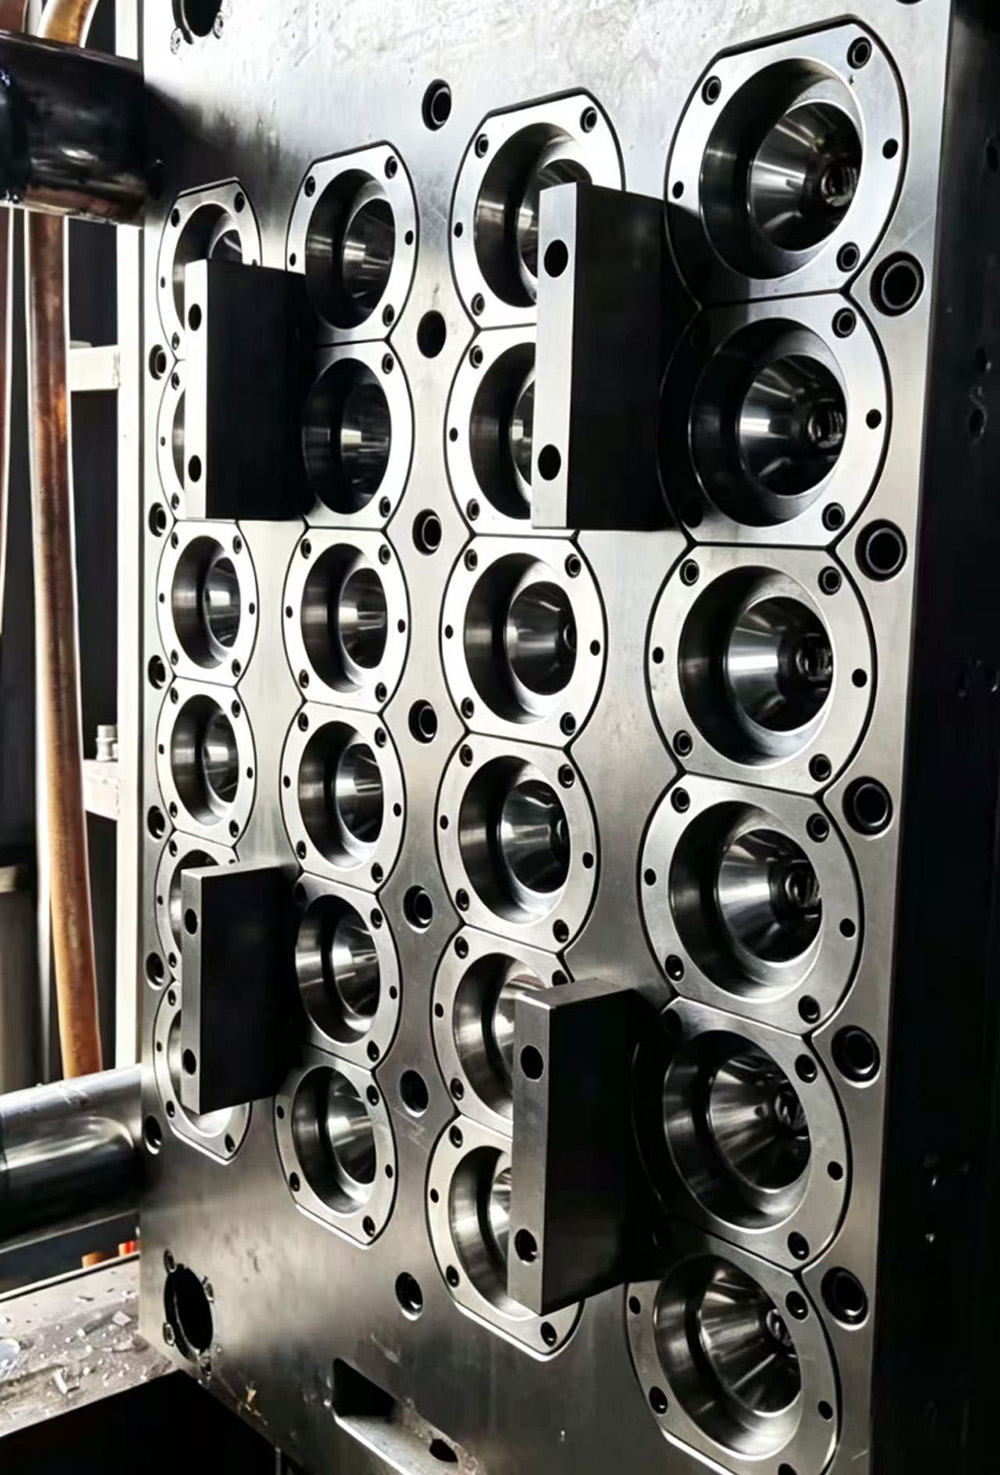
In PET preform injection molding, defects are inevitable — but they are also preventable and correctable. Understanding the root causes of common defects allows you to take corrective action quickly, minimizing scrap and downtime. This troubleshooting guide from Gutewei covers the most frequent PET preform defects and provides practical solutions to fix short shot and flash issues — plus other common quality problems.
The Cost of Preform Defects
| Defect Type | Typical Reject Rate | Annual Impact (100M preforms) |
|---|---|---|
| Short shots | 0.3–0.8% | 300,000–800,000 rejects |
| Flash | 0.2–0.5% | 200,000–500,000 rejects |
| Weight variation | 0.5–1.5% | 500,000–1,500,000 rejects |
| Splay / burns | 0.2–0.5% | 200,000–500,000 rejects |
| Gate vestige | 0.5–2.0% | 500,000–2,000,000 rejects |
| Neck defects | 0.3–0.8% | 300,000–800,000 rejects |
| Total | 2.0–6.0% | 2–6 million rejects/year |
Reducing reject rate from 2.5% to 0.5% saves 2 million preforms per 100 million produced — equivalent to 32 metric tons of PET (for 16g preforms).
Defect #1: Short Shots (Incomplete Filling)
Appearance
Preform is incomplete — missing material at the base, gate area, or along the body
Clear unfilled section visible
Preform weight significantly below target
Root Causes
| Cause | Explanation |
|---|---|
| Insufficient injection pressure | Pressure not high enough to fill cavity |
| Blocked gate or nozzle | Material obstruction restricts flow |
| Low melt temperature | Material too viscous to flow properly |
| Inadequate shot size | Not enough material injected |
| Poor venting | Trapped air prevents complete fill |
| Cavity balance issue | Some cavities fill, others do not |
Troubleshooting Steps
| Step | Action |
|---|---|
| 1 | Check injection pressure — increase if below 800 bar |
| 2 | Verify shot size — ensure sufficient material |
| 3 | Check melt temperature — should be 270–290°C for PET |
| 4 | Inspect gate area — clean if blocked |
| 5 | Check hot runner nozzle — clear any obstruction |
| 6 | Verify vent depth — should be 0.015–0.025mm |
| 7 | Run short-shot test to identify specific cavities |
Gutewei Solutions
| Solution | How It Helps |
|---|---|
| Cavity balance design | Equal filling across all cavities |
| Precision venting | Complete air evacuation |
| Optimized gate geometry | Unrestricted flow |
| Individual nozzle control | Consistent melt delivery |
Defect #2: Flash (Excess Material at Parting Line)
Appearance
Thin layer of excess PET at parting line
Often visible around neck ring or mold split line
Requires secondary trimming
Root Causes
| Cause | Explanation |
|---|---|
| Excessive clamp pressure | Forces material into parting line gap |
| Worn parting surfaces | Gap allows material escape |
| Mold misalignment | Uneven parting line contact |
| Insufficient venting | Material forced into parting line |
| Excessive injection pressure | Pushes material where it should not go |
| Damaged or worn guide components | Allows mold halves to separate |
Troubleshooting Steps
| Step | Action |
|---|---|
| 1 | Reduce injection pressure (if excessive) |
| 2 | Verify clamp tonnage — should be sufficient but not excessive |
| 3 | Inspect parting line for nicks or wear |
| 4 | Check mold alignment — guide posts and bushings |
| 5 | Verify vent depth — too deep causes flash |
| 6 | Clean parting line surfaces thoroughly |
Gutewei Solutions
| Solution | How It Helps |
|---|---|
| Precision ground parting surfaces | Zero gap, no flash |
| Hardened guide components | Maintains alignment |
| Optimized vent depths | Air escapes, material does not |
| FEA-validated mold rigidity | No deflection under pressure |
Defect #3: Weight Variation
Appearance
Preforms from different cavities have different weights
Wall thickness inconsistency
Blow molding performance varies by cavity
Root Causes
| Cause | Explanation |
|---|---|
| Cavity imbalance | Uneven filling across cavities |
| Temperature variation | Different melt viscosity per cavity |
| Hot runner imbalance | Unequal flow distribution |
| Gate wear | Different flow rates per cavity |
| Cooling variation | Uneven shrinkage |
| Valve gate timing variation | Inconsistent cut-off |
Troubleshooting Steps
| Step | Action |
|---|---|
| 1 | Weigh all cavities (sample 100 shots) |
| 2 | Calculate variation — target ≤ 0.30% |
| 3 | Check nozzle temperatures — should be within ±1°C |
| 4 | Inspect gate diameters — should be identical |
| 5 | Verify valve pin timing (if equipped) |
| 6 | Check cooling balance — thermal imaging |
Gutewei Solutions
| Solution | How It Helps |
|---|---|
| Cavity balance technology | ≤ 0.30% weight variation |
| Individual nozzle temperature control | ±1°C accuracy |
| Precision gate machining | Identical flow rates |
| Balanced cooling circuits | Uniform shrinkage |
Defect #4: Burn Marks / Splay
Appearance
Dark brown or black marks on preform surface
Silver streaks (splay) on surface
Typically at gate area or thick sections
Root Causes
| Cause | Explanation |
|---|---|
| Poor venting | Trapped air compresses and burns |
| Material degradation | Excessive temperature or residence time |
| Contaminated material | Impurities burn |
| Gate shear | Excessive shear generates heat |
| Moisture in material | Hydrolysis creates bubbles/splay |
| Worn nozzle tip | Material degradation in worn area |
Troubleshooting Steps
| Step | Action |
|---|---|
| 1 | Dry PET material — should be < 0.04% moisture |
| 2 | Clean vent grooves — ensure full depth |
| 3 | Reduce injection speed — lower shear |
| 4 | Check melt temperature — reduce if too high |
| 5 | Inspect hot runner — clean if degraded material present |
| 6 | Verify residence time — should not exceed 4–5 minutes |
Gutewei Solutions
| Solution | How It Helps |
|---|---|
| Low shear hot runner design | Minimizes degradation |
| Precision venting | Proper air evacuation |
| Low AA design | Prevents degradation |
| Optimized gate geometry | Reduces shear |
Defect #5: Gate Vestige (Open Gate Systems)
Appearance
Visible nub or protrusion at preform base
Irregular gate surface
May require trimming
Root Causes
| Cause | Explanation |
|---|---|
| Open gate design | Inherent vestige |
| Gate break-off point | Irregular fracture |
| Gate diameter too large | Larger vestige |
| Cooling at gate | Inconsistent gate solidification |
Troubleshooting Steps
| Step | Action |
|---|---|
| 1 | Cannot eliminate with open gate — consider valve gate |
| 2 | Optimize gate diameter for clean break |
| 3 | Adjust gate cooling for consistent solidification |
Gutewei Solutions
| Solution | How It Helps |
|---|---|
| Valve gate system | Zero gate vestige |
| Optimized gate geometry | Clean cut-off |
| Precision valve pin timing | Consistent shut-off |
Defect #6: Neck Finish Defects
Appearance
Out-of-round neck
Damaged threads
Incomplete neck filling
Neck distortion
Root Causes
| Cause | Explanation |
|---|---|
| Worn neck rings | Dimensional drift |
| Misalignment | Off-center neck |
| Cooling imbalance | Uneven neck contraction |
| Ejection damage | Neck damaged during ejection |
| Insufficient packing | Incomplete neck filling |
Troubleshooting Steps
| Step | Action |
|---|---|
| 1 | Measure neck dimensions — compare to drawing |
| 2 | Inspect neck rings for wear — replace if worn |
| 3 | Verify alignment — concentricity check |
| 4 | Check ejection timing — should be smooth |
| 5 | Adjust packing parameters — optimize |
Gutewei Solutions
| Solution | How It Helps |
|---|---|
| Precision machined neck rings | ±0.02mm accuracy |
| Hardened neck ring material | Long life |
| Balanced neck cooling | Consistent dimensions |
| Smooth ejection system | No damage during ejection |
Defect #7: Surface Scratches / Clarity Issues
Appearance
Visible scratches on preform surface
Hazy or cloudy appearance
Rough surface finish
Root Causes
| Cause | Explanation |
|---|---|
| Worn cavity surface | Scratches transfer to preform |
| Contaminated material | Particles cause scratches |
| Improper ejection | Preform dragged across cavity |
| Degraded material | Milky appearance |
| Cooling water quality | Scale on cavity surface |
Troubleshooting Steps
| Step | Action |
|---|---|
| 1 | Inspect cavity surfaces — repolish if scratched |
| 2 | Check material cleanliness — ensure filtered |
| 3 | Verify ejection smoothness — no dragging |
| 4 | Check cooling water quality — prevent scale |
| 5 | Check melt temperature — degradation causes haze |
Gutewei Solutions
| Solution | How It Helps |
|---|---|
| S136 stainless steel | Excellent polish retention |
| RA ≤ 0.02μm surface finish | Crystal clear preforms |
| Corrosion-resistant material | Surface integrity maintained |
Quick Reference: Defect Troubleshooting Chart
| Defect | Primary Check | Secondary Check | Gutewei Solution |
|---|---|---|---|
| Short shots | Injection pressure | Venting | Balanced design |
| Flash | Parting line | Clamp pressure | Precision grinding |
| Weight variation | Cavity balance | Temperature | Balance technology |
| Burn marks | Venting | Moisture | Precision venting |
| Splay | Moisture | Shear | Low shear design |
| Gate vestige | Gate type | Valve pin timing | Valve gate system |
| Neck defects | Neck ring wear | Alignment | Precision neck rings |
| Surface scratches | Cavity condition | Material | Hardened material |
Preventive Maintenance to Reduce Defects
| Frequency | Action |
|---|---|
| Daily | Visual inspection, weight check |
| Weekly | Clean vents, check cooling flow |
| Monthly | Balance check, neck ring inspection |
| Quarterly | Full mold inspection, cooling deep clean |
| Annually | Complete audit, spare parts planning |
When to Call Gutewei for Help
| Situation | Gutewei Support |
|---|---|
| Defects persist after troubleshooting | Technical consultation |
| Cavity balance drifts beyond tolerance | Balance correction service |
| Neck finish out of spec | Neck ring replacement |
| Mold refurbishment needed | Full refurbishment service |
| Spare parts required | 24-hour parts dispatch |
Ready to Eliminate Preform Defects?
Understanding common PET preform defects and knowing how to fix short shot and flash issues — plus other quality problems — is essential for efficient production. With this Gutewei troubleshooting guide, you can quickly identify and resolve defects, minimizing scrap and maximizing output.
Contact Gutewei today for technical support, spare parts, or refurbishment services.